Welcome to Part 2 of How To Take Amazing Photos of Yourself…For Free!
If you missed Part 1 on how to select a color scheme and wardrobe, click HERE to go back.
If you are in business or sales, a blogger, an entrepreneur, an author or just trying to build your social media following, it’s essential that you have professional photos of yourself.
Full disclaimer: I have never hired or paid a penny for a photographer. My 13-year old daughter has taken every single photo you see of me in this series. So if you have a child, spouse or neighbor old enough to operate a phone, they can most definitely hold a camera and click!
In part 2 of my 4-part series, I’m going to share with you how to find the perfect location for your photo shoot.
Location, Location, Location
The location where you take your photos can make or break the quality and professionalism of your photos.
Here are several important tips on choosing the right location, and also whether you should take your photos indoors or outdoors.
Indoor Photos
The only time you should ever take indoor photos is if you have a tremendous amount of natural lighting (sunlight coming from a window or door). Artificial lighting is not recommended.
Here is an easy trick to get amazing headshots using natural lighting:
Open your front door. Step inside your house about 4-6 feet. Sit in a chair and face the outdoors. Have someone standing take photos of you from the chest up (keep the door open while they are taking the photos).
This will allow for beautiful natural light to brighten your face, make your eyes pop and eliminate any shadows. This trick can also be used any time of day, rain or shine!
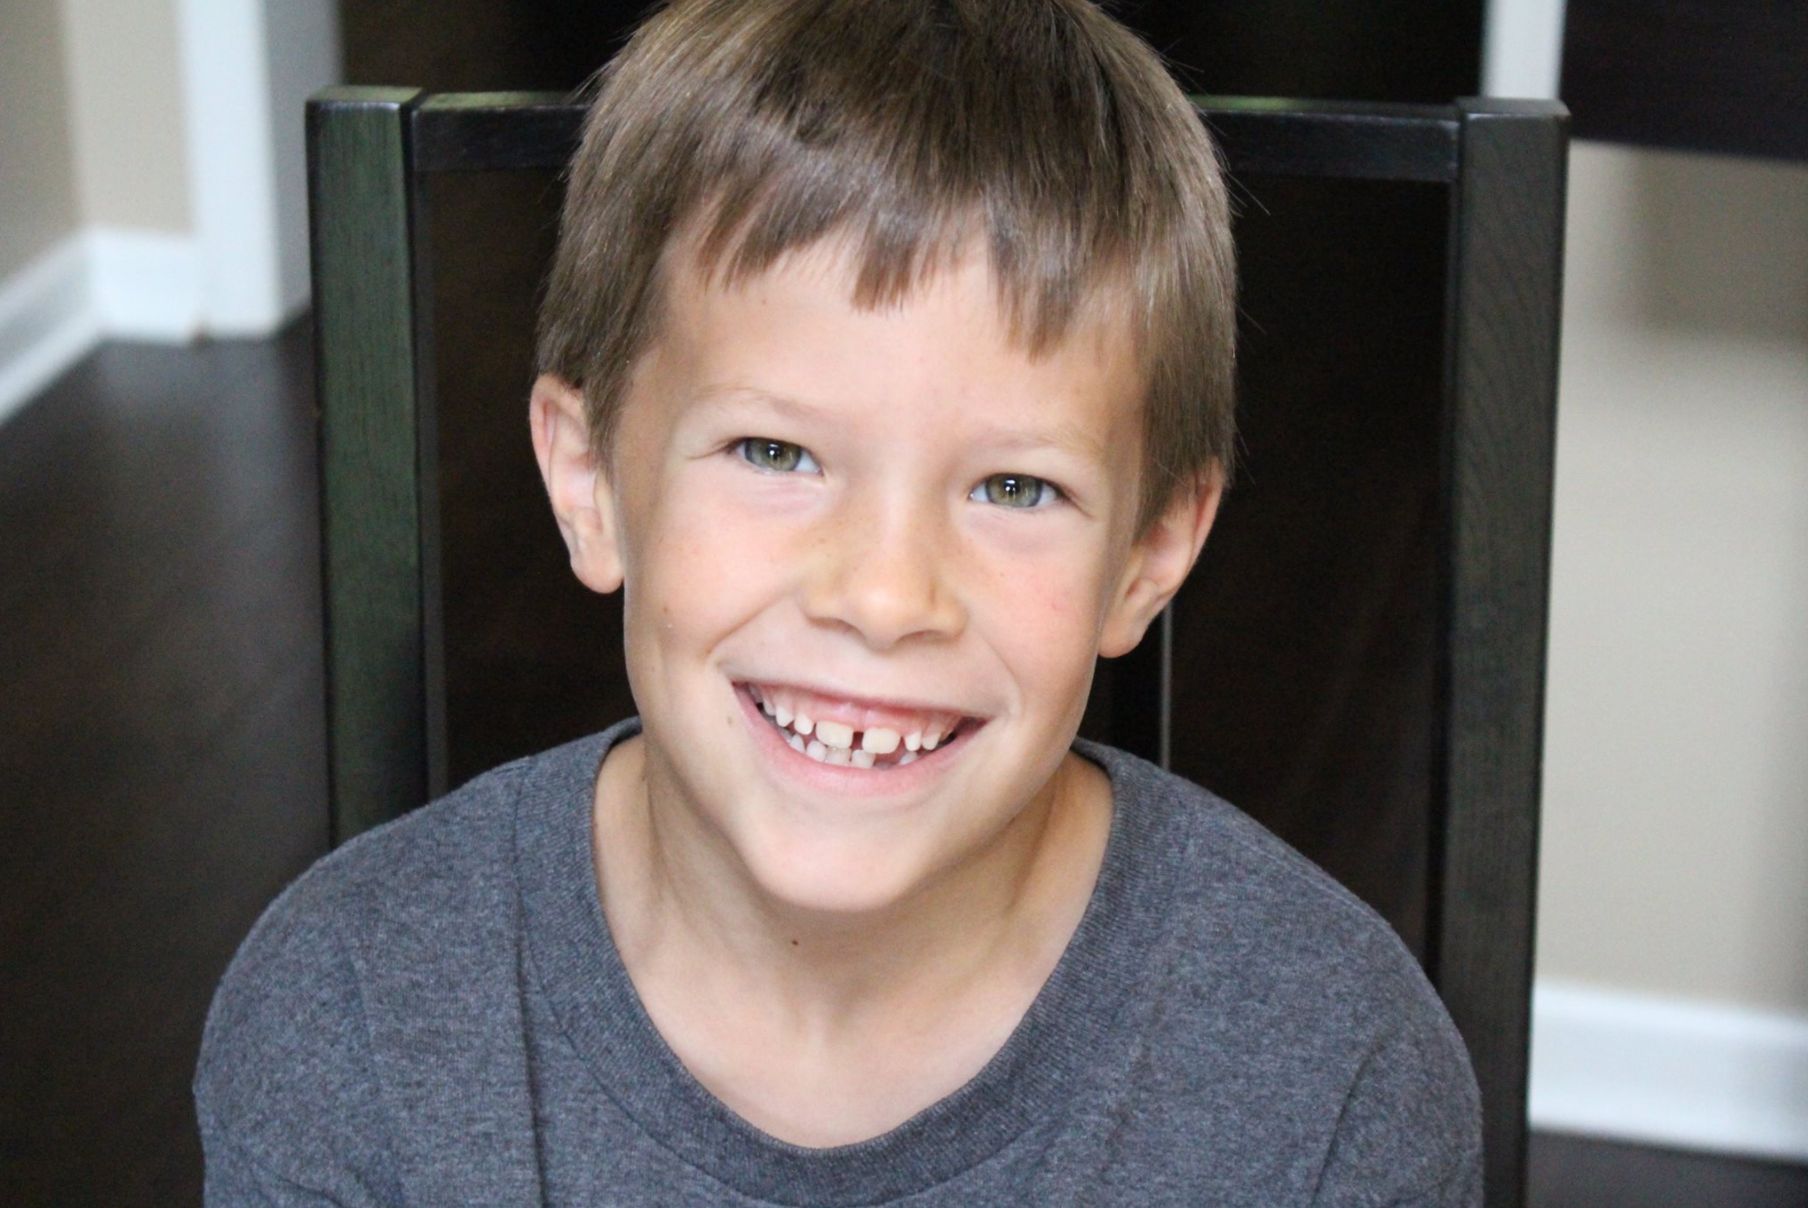
This photo below of my son was taken using this method. It works like a charm!
The only other time you could take photographs indoors is if you have a ton of light pouring in from a big window. This photo below was taken in a kitchen, but there was a large amount of natural light beaming in from a nearby window.
Lighting singlehandedly will make or break your photos (as you will learn in Part 3). Indoor photos are okay, but only if you are very careful about getting a lot of natural light.

Outdoor Photos
This is the fun part! I love scouting for locations because there are fabulous places all around you to take photos – you just haven’t realized it yet!
The ideal place to take photos is where you can get 3-5 completely different backdrops within walking distance from each other.
For example, see these 4 photos below. One was taken at my daughter’s school (I noticed the white textured exterior one day sitting in the carpool line!). Another photo was taken across the street at a cafe. The yellow door was a block away in front of a retail shop. And the last one was on the back porch of a real estate office. (All walking distance from each other!)
All I had to do was bring a change of clothes – and in less than an hour I had enough photos to last me for months!


When I lived in Nashville, there was a city part near my house. On the property was a big white historic house, a rustic barn, a creek, a canopy of trees and a bridge. At this one location, I was able to capture five completely different looks in less than an hour!
Things To Look For
Here are a few things to look for that make terrific locations and backdrops for photos:
- Historic homes or buildings – They have a lot of character
- White homes or buildings – White will help make your photos light and bright
- Brick exterior – Adds nice texture
- Bridges, stairs, walkways – Adds movement to your photos (see below)
- Outdoor cafe or coffee shop – Good for business photos
- Graffiti or painted murals – Fun and colorful
- Canopy of trees or beautiful landscaping – You can never go wrong with Nature
Creating Cool Photos With Movement
If you plan to take full body photos, your backdrop will be a focal point of your photos.
Below are a few photos I have taken of friends and family over the years. Do you see how the fences creates depth and movement in several of the photos (These were just two fences that separated my house from my neighbors house).
The family standing under a canopy trees in the fall is one of my favorites.
I snuck out into the aisle when my brother-in-law got married. Do you see how the pews create a focal point of the bride and groom?
A pretty staircase or funky bridge can also have the same affect.
Do you get the idea? Avoid just standing in front of a flat wall to have your photos made. Look for a big staircase, bridge, a pair of fences, etc…and your photos will have a lot more character!


Why Off Center Photos Are Important
In the photos above, all of the people in the photos are front and center because part of the location brings the photos together.
But there are other times when you want the person taking photos of you to photograph you left or right from center. This is important especially if you ever want to add graphics to your photos.
Look at the images below. Do you see how graphic text has been added to the photos. This is only possible when there is space to the right or left of yourself.
You can always crop a photo, but you can’t zoom it out.
In part 5 of this series, I will teach you how to add amazing graphics to you photos for free.


So take a few minutes this weekend and drive around your town.
Is there a historic district with old, funky buildings with a lot of character? If so, that’s perfect!
Is there a farm nearby with an old barn? Awesome!
What about a foot bridge over a creek? Great!
Once you really open your eyes you’ll realize that all-of-the-above are 5 minutes apart from each other.
___________________________
What did you find to be the most helpful advice in this article? Drop a comment below!!